Windows
This page contains the description for installation of the Windows version of vinkvfxls. To make the guide easier to understand, the name vinkvfxls is used as this is also the name of the application. vinkvfxls means Vink VFX License Server.
Download
First, make sure you download the latest version of vinkvfxls at the downloads page:
Installation
Once downloaded, you will find the installer called as vinkvfxls-{version}-windows.msi
Hashes
For safety it is recommended to verify if the hashes match with the INSTALL.md file. The command to check the hashes is provided in there.
Run the installer, and choose your install directory. By default, this is C:\Program Files\vinkvfxls.
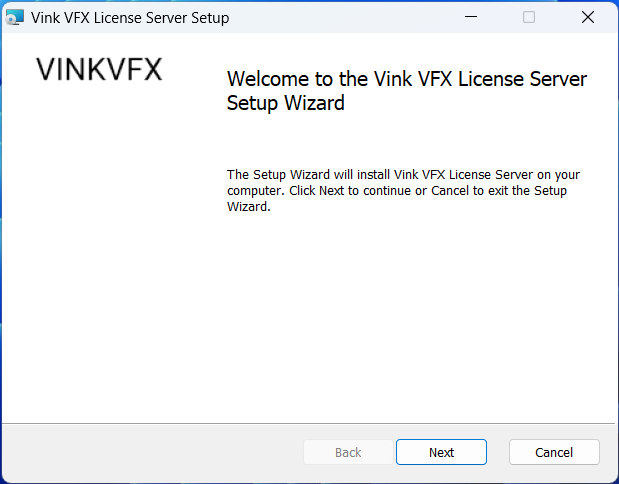
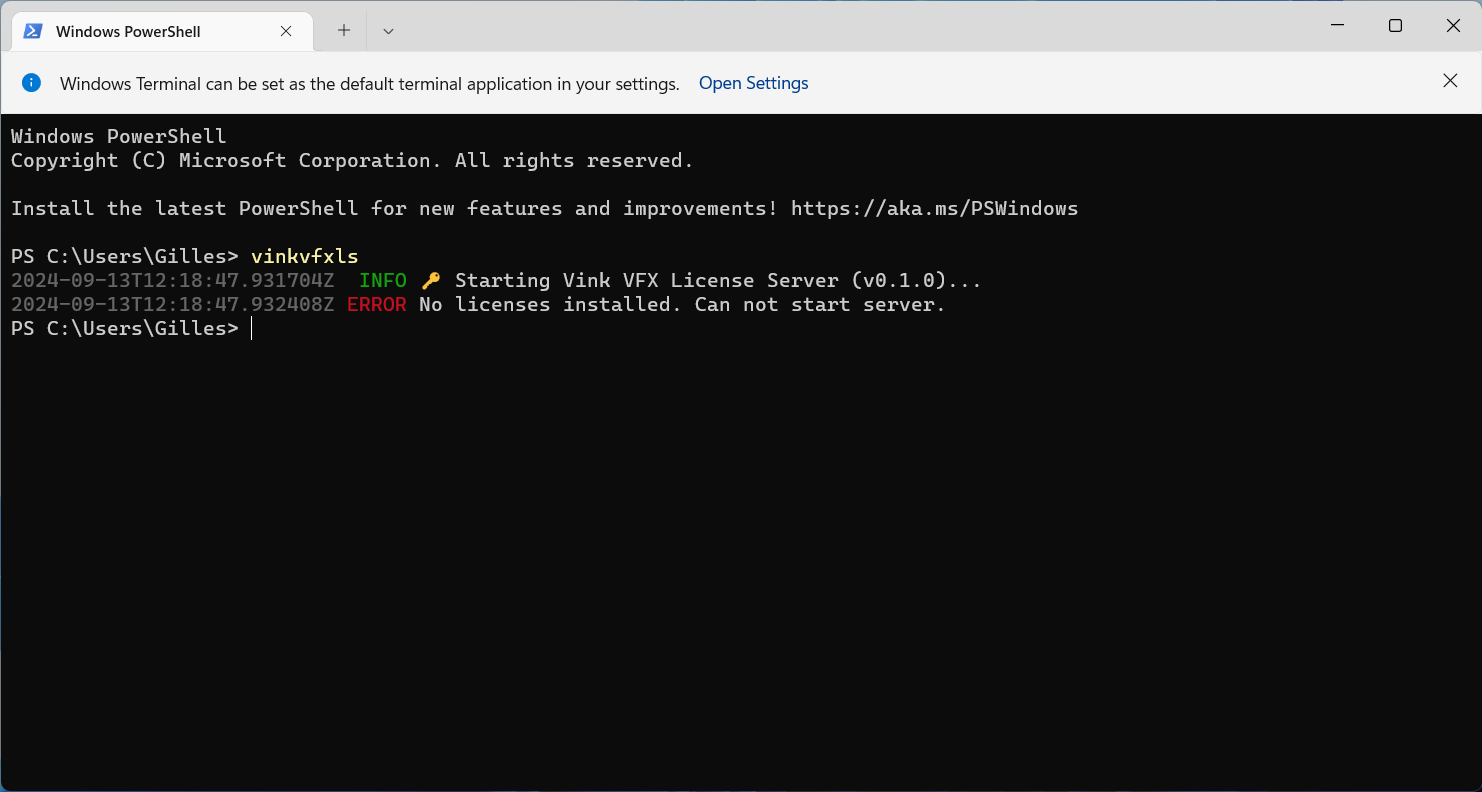
The installer will guide you for installation. After you've completed the installation, open a new terminal instance and enter the vinkvfxls command.
It is recommended to use the Windows Terminal application instead of Powershell & CMD, as Terminal has proper color highlighting support.
You can now also call the help menu for all commands using vinkvfxls --help
License server for Vink VFX software.

Usage: vinkvfxls [OPTIONS]

Options:
  -c, --configure            Start the configure panel
  -l, --logs                 Fetch the logs
  -s, --status               Collect the system status
  -m, --manage-licenses      Start the license management utility
  -r, --reset-configuration  Reset the configuration file if problems have occurred. Will not delete license data.
  -h, --help                 Print help
  -V, --version              Print version
Service
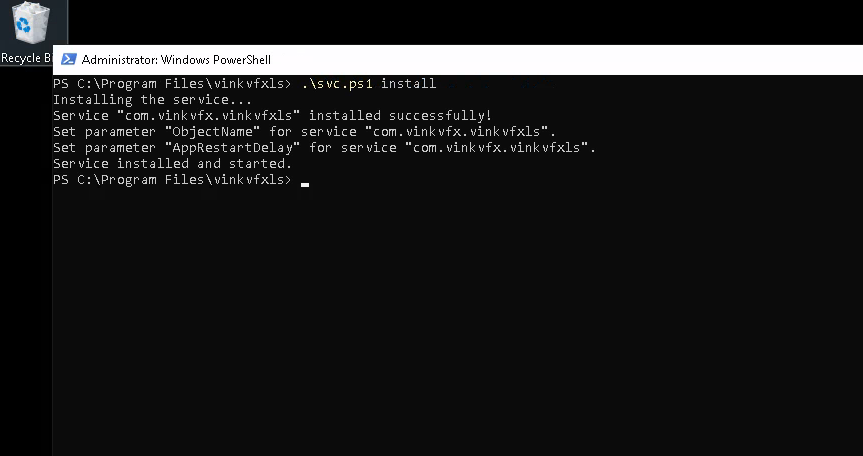
In the installed directory there is a script called svc.ps1.
This can be used to install the license server as a service, so it boots automatically on server start. Before using script, please make sure the NSSM (Non-Sucking Service Manager) is installed. This can be done with either Chocolatey or manual installation. Please refer to their docs.
Installation order
Make sure to set-up the licenses first before installing the service. As the license server will exit immediately if there are no licenses installed.
It has a few options:
install: setup the svc servicestart: enable and start the servicestatus: fetch status of the servicestop: disable and stop the serviceuninstall: stop and uninstall the service.
Make sure to run the shell with administration rights, as it is needed to manage a Windows service.
Enter the following command (this is executed in Powershell, administrator privileges are not required when launching Powershell):
Enter your credential to allow the service to be created.

This will confirm if it succeeded.
After installation, start the server using the start command.
You can check the service status using:
Uninstall
Open Powershell again, and execute these commands:
Next up
If installation succeeded, continue to the Quickstart for usage of the CLI and installation of the licenses.